The Approval Bottleneck Gravity Flow 3.0 Finally Solves
Build no-code approval workflows in WordPress with Gravity Flow 3.0. Step-by-step tutorial covers conditional routing, escalation, and revision loops with real examples.
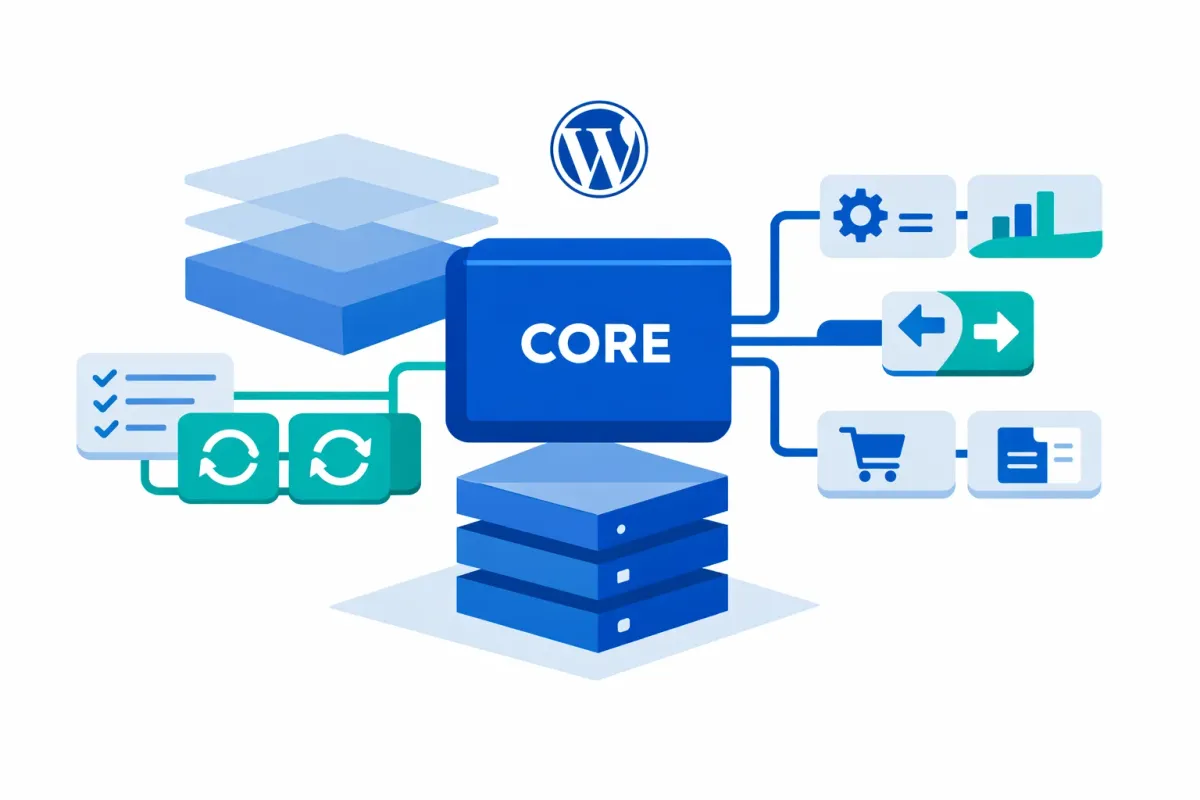
Gravity Flow 3.0: Building No-Code Approval Workflows in WordPress
Managing approvals through email chains and spreadsheets creates bottlenecks that delay projects. Gravity Flow 3.0, released November 5, 2025, transforms WordPress into a no-code approval workflow platform with performance improvements and redesigned interfaces. For organizations evaluating WordPress automation platforms, Gravity Flow offers a self-hosted alternative with flat-rate pricing regardless of execution volume.
In this tutorial, you will build two approval workflows---a content review process with revision loops and an expense approval system with conditional routing---using Gravity Flow 3.0’s new features. These patterns show how approval workflows reduce manual coordination while maintaining oversight.
Prerequisites and Setup
Before building approval workflows, verify your environment meets these requirements:
| Component | Minimum Version | Recommended |
|---|---|---|
| Gravity Forms | 2.9.14+ | Latest |
| WordPress | 6.5+ | 6.9 |
| PHP | 7.4+ | 8.3 |
This tutorial was created and tested using Gravity Flow 3.0.0, Gravity Forms 2.9.14, and WordPress 6.9 in January 2026.
Install Gravity Flow 3.0 from the Gravity Forms Add-Ons page and activate it. Navigate to Forms > Settings > Gravity Flow to confirm version 3.0.0 or higher appears.
Create two forms as workflow triggers: one named “Content Submission” and another “Expense Request.” These serve as entry points for the approval processes you will configure.
Understanding Approval Step Configuration
Every approval workflow in Gravity Flow uses the Approval step type, which routes submissions to designated approvers and waits for decisions before continuing.
Assignment Methods
Select Method assigns approvers directly through a multi-select interface. Choose specific WordPress users, roles (like Editor or Administrator), or dynamically pull assignees from email fields. Use this for workflows with fixed approvers.
Conditional Routing assigns approvers based on form field values. For example, route expense requests over $500 to Finance while keeping smaller amounts with department managers. The redesigned conditional routing interface in 3.0 provides full-width rows that make long usernames and field names easier to read. If no conditions match during execution, Gravity Flow automatically skips the step.
Approval Policies
Single Completion completes the step when the first assignee submits their decision. This works for simple gatekeeping where any authorized approver can proceed.
All Must Complete requires every assignee to submit before moving forward. Use this for committee approvals or scenarios requiring consensus.
For sites with 150+ users, Gravity Flow 3.0 automatically enables AJAX-powered search in assignee fields. Type three characters to trigger instant search instead of loading thousands of names.
Pattern 1: Content Review Workflow with Revision Loops
Editorial teams need multi-stage review with the ability to send drafts back for revision without rejecting them outright.
Workflow Structure
- Author submits content via form
- Editor reviews and approves, rejects, or reverts for revision
- If reverted, author edits and resubmits
- Final approver publishes or archives
Configuration Steps
Create an Approval step and name it “Editorial Review.” Under Assignees, select the Select method and choose your Editor role.
Set Approval Policy to “Single Completion” since one editor’s decision is sufficient.
Enable Revert in the step settings. This third action alongside Approve and Reject sends entries back to User Input steps without changing the status---different from rejection, which updates the entry status. This distinction matters for reporting and creates feedback loops without marking content as failed.
Add display fields so editors see the submitted content during review.
For the revision path, add a User Input step named “Author Revisions” that appears only when entries are reverted. Assign this step back to the original form submitter using the form’s email field, allowing authors to edit and resubmit.
Finally, add a second Approval step for final publication approval, assigned to your Publisher role or content manager.
Pattern 2: Conditional Expense Approval Workflow
Finance workflows often require different approval levels based on request amounts. Here is how to build escalating approvals using conditional routing.
Workflow Structure
- Employee submits expense request
- Manager approves requests under $500
- Requests $500+ route to Finance team
- Approved requests trigger reimbursement notifications
Configuration Steps
In your Expense Request form, create a Number field named “Amount” for the expense total. This field drives your conditional routing logic.
Add an Approval step named “Expense Approval.” Under Assignees, select Conditional Routing to enable field-based assignment.
Create your first routing rule: If Amount is less than 500, Assign to Department Manager role. Add a second rule: If Amount is greater than or equal to 500, Assign to Finance role. The 3.0 interface displays these rules in full-width rows with integrated AJAX search, making complex routing logic easier to review.
Set the Approval Policy to “Single Completion” since you want the appropriate tier to approve, not both.
One-Click Approval Links
For simple expense approvals, enable one-click approval links in the Approval step’s Notification settings. Approvers receive emails with direct Approve/Reject links that process decisions without logging into WordPress.
Security consideration: One-click links bypass all validation checks, including required fields and workflow notes. The token-based system allows anyone with the link to submit the approval action. Links remain valid for 48 hours by default. Only use one-click approval for low-risk workflows that do not require documentation or strict validation. For high-value expense approvals, disable this feature and require approvers to log in.
After approval, add a Notification step that emails the accounting team with approved expense details for reimbursement processing.
Approval Workflow Best Practices
Use the Step Navigator to jump between workflow steps without opening multiple browser tabs. The quick-access link at the top of step settings pages prompts you to save changes before departing.
Choose conditional routing over workflow branching when possible. Instead of creating parallel workflow paths with multiple steps, use conditional routing within a single Approval step to dynamically assign based on form data. This reduces complexity and improves performance.
Plan for skipped steps by testing your conditional routing logic. If your conditions do not account for all possible field values, Gravity Flow skips the step entirely. Add a fallback routing rule that matches all remaining cases to catch edge cases. If your conditional routing rules skip unexpectedly, verify that your form field contains data before the approval step executes---empty fields can cause conditions to fail.
Set appropriate token expiration for one-click approval links based on your workflow urgency. Finance approvals may need 24-hour windows instead of the 48-hour default to maintain tight approval cycles.
Next Steps
These two patterns demonstrate Gravity Flow 3.0’s capabilities for no-code approval automation in WordPress. Content review workflows benefit from revert loops and multi-stage gates, while expense approvals leverage conditional routing for intelligent escalation.
Once approval workflows are in place, connect them to WordPress CRM integration workflows for automated lead management. For advanced implementations, investigate AI-powered WordPress workflows that combine approval routing with AI-assisted decision recommendations.
Explore parallel approval steps where multiple departments review simultaneously using the “All Must Complete” policy. For complex scenarios, review the official video tutorials and workflow automation best practices guide.
The redesigned interface, AJAX search, and step navigator in Gravity Flow 3.0 make building approval workflows more accessible---turning WordPress into a practical platform for automating approval processes without writing code.