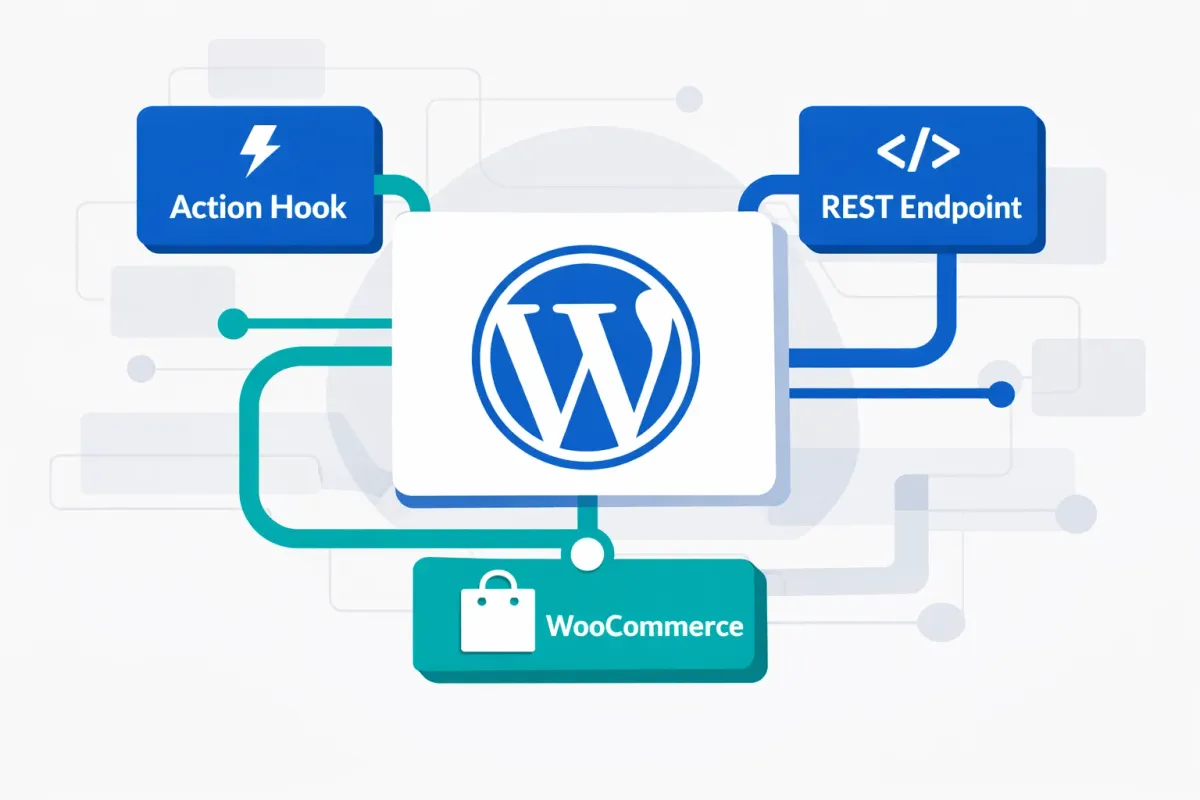
Native WordPress Webhooks: Automating Workflows Without External Services
Learn to build WordPress webhook automations using native tools. Complete tutorial with HMAC verification, REST endpoints, and WooCommerce integration. No plugins needed.
Every third-party automation service adds another monthly subscription, another data processor with access to your site, and another point of failure. For WordPress developers who value control over their infrastructure, there’s a better approach: building automations using WordPress’s native webhook capabilities.
WordPress includes everything you need to send, receive, and trigger webhooks without external dependencies. The HTTP API handles outbound requests, action hooks fire at precise moments, and the REST API receives incoming payloads.
In this tutorial, you’ll learn how to implement webhook automations using these native tools. By the end, you’ll have production-ready code patterns including HMAC signature verification and proper error handling for common automation tasks.
Sending Webhooks with the WordPress HTTP API
WordPress provides several functions for making HTTP requests, but wp_safe_remote_post() is the recommended choice for webhook delivery. Unlike wp_remote_post(), it includes built-in protection against Server-Side Request Forgery (SSRF) attacks by validating destination URLs.
Here’s a complete example that fires a webhook when a post is published:
add_action( 'transition_post_status', 'send_publish_webhook', 10, 3 );

function send_publish_webhook( $new_status, $old_status, $post ) {
    if ( $new_status !== 'publish' || $old_status === 'publish' ) {
        return;
    }

    $payload = array(
        'event'   => 'post.published',
        'post_id' => $post->ID,
        'title'   => $post->post_title,
        'url'     => get_permalink( $post->ID )
    );

    $secret = get_option( 'my_webhook_secret' );
    $body = wp_json_encode( $payload );

    $response = wp_safe_remote_post( 'https://example.com/webhook', array(
        'body'    => $body,
        'headers' => array(
            'Content-Type' => 'application/json',
            'X-Signature'  => hash_hmac( 'sha256', $body, $secret )
        ),
        'timeout' => 15
    ));

    if ( is_wp_error( $response ) ) {
        error_log( 'Webhook failed: ' . $response->get_error_message() );
    }
}
This code includes three critical production elements that many tutorials overlook.
First, the HMAC signature in the X-Signature header allows the receiving server to verify the request authentically came from your WordPress site. Without this signature, anyone could forge webhook requests to your endpoints.
Second, the explicit timeout of fifteen seconds prevents slow external endpoints from blocking your WordPress execution. The default timeout is only five seconds, which may not be enough for services with variable response times.
Third, error logging with is_wp_error() captures delivery failures for debugging. In production, you might extend this to store failures in a custom database table or send alerts for repeated errors.
Triggering Webhooks with Action Hooks
WordPress fires action hooks at specific moments during its execution cycle. Understanding which hooks to use determines when your webhooks fire.
Post status changes use transition_post_status, which fires whenever a post moves between statuses. The three parameters tell you the new status, old status, and the full post object.
User registration fires on user_register immediately after a new user is created. You receive the user ID and can fetch additional data with get_userdata().
New comments trigger wp_insert_comment when a comment is saved to the database, providing both the comment ID and the complete comment object.
Each hook fires at a specific moment, so choose based on when you need the webhook sent. For example, save_post fires on every save including autosaves, while transition_post_status only fires on actual status changes.
Receiving Webhooks via Custom REST Endpoints
To receive webhooks from external services, create a custom REST API endpoint using register_rest_route(). The key is implementing proper signature verification to ensure requests are authentic.
add_action( 'rest_api_init', function() {
    register_rest_route( 'myplugin/v1', '/webhook', array(
        'methods'             => 'POST',
        'callback'            => 'handle_incoming_webhook',
        'permission_callback' => 'verify_webhook_signature'
    ));
});

function verify_webhook_signature( $request ) {
    $signature = $request->get_header( 'X-Signature' );
    $body      = $request->get_body();
    $secret    = get_option( 'my_webhook_secret' );

    $expected = hash_hmac( 'sha256', $body, $secret );

    return hash_equals( $expected, $signature );
}

function handle_incoming_webhook( $request ) {
    $data = $request->get_json_params();
    // Process the webhook payload
    return new WP_REST_Response( array( 'received' => true ), 200 );
}
The permission_callback runs before your main handler, rejecting invalid requests before they reach your processing logic. This separation keeps your webhook handler focused on business logic rather than security validation.
Using hash_equals() for signature comparison is essential. A standard string comparison like $expected === $signature leaks timing information that attackers can exploit to discover your secret one character at a time. The hash_equals() function performs a constant-time comparison that prevents these timing attacks.
Your endpoint URL will follow the pattern https://yoursite.com/wp-json/myplugin/v1/webhook. Share this URL with the external service sending webhooks to your site, along with your shared secret for signature generation.
WooCommerce Built-in Webhooks
WooCommerce includes a complete webhook system accessible through WooCommerce > Settings > Advanced > Webhooks. This UI-based approach requires no custom code for common e-commerce automation scenarios.
To create a webhook, click “Add webhook” and configure three settings: a name for identification, a status (active or disabled), and the topic that triggers delivery. The system offers over fifteen predefined topics including order.created, order.updated, product.created, and customer.created. Enter your delivery URL and WooCommerce handles signature generation automatically.
WooCommerce implements an important reliability safeguard: webhooks automatically disable after five consecutive delivery failures. This prevents your site from endlessly retrying dead endpoints, which would waste server resources and slow down order processing. You can adjust this threshold using the woocommerce_max_webhook_delivery_failures filter if your receiving service has occasional downtime.
For debugging delivery issues, WooCommerce logs webhook attempts including response codes and error messages. Navigate to WooCommerce > Status > Logs and filter for webhook-related entries to trace what went wrong.
Production Considerations
Three factors affect webhook reliability in production environments.
Timeouts default to five seconds, which may be insufficient for slow external services. Set explicit timeouts in your request arguments, but keep them under thirty seconds to avoid PHP execution limits.
Logging should capture both successes and failures. Use error_log() for basic debugging or implement a custom logging table for production monitoring.
WP-Cron limitations affect scheduled webhook tasks. WordPress cron only executes on page loads, meaning low-traffic sites may experience delays. Consider using a real cron job that hits wp-cron.php directly for time-sensitive automations.
What You’ve Learned
Native WordPress webhooks eliminate recurring subscription costs, keep your data within your infrastructure, and give you complete control over automation logic. You now have production-ready patterns for sending webhooks with HMAC signatures, triggering them from WordPress events, receiving them through secure REST endpoints, and leveraging WooCommerce’s built-in system.
The code in this tutorial provides a foundation you can extend for any workflow. For more advanced implementations, explore queueing webhooks for batch processing or implementing exponential backoff retry logic for failed deliveries.