Your WooCommerce Order Statuses Are Doing Half the Job
Learn to automate WooCommerce order status workflows using native hooks and Action Scheduler. Step-by-step code examples, HPOS compatibility guide, and best practices.
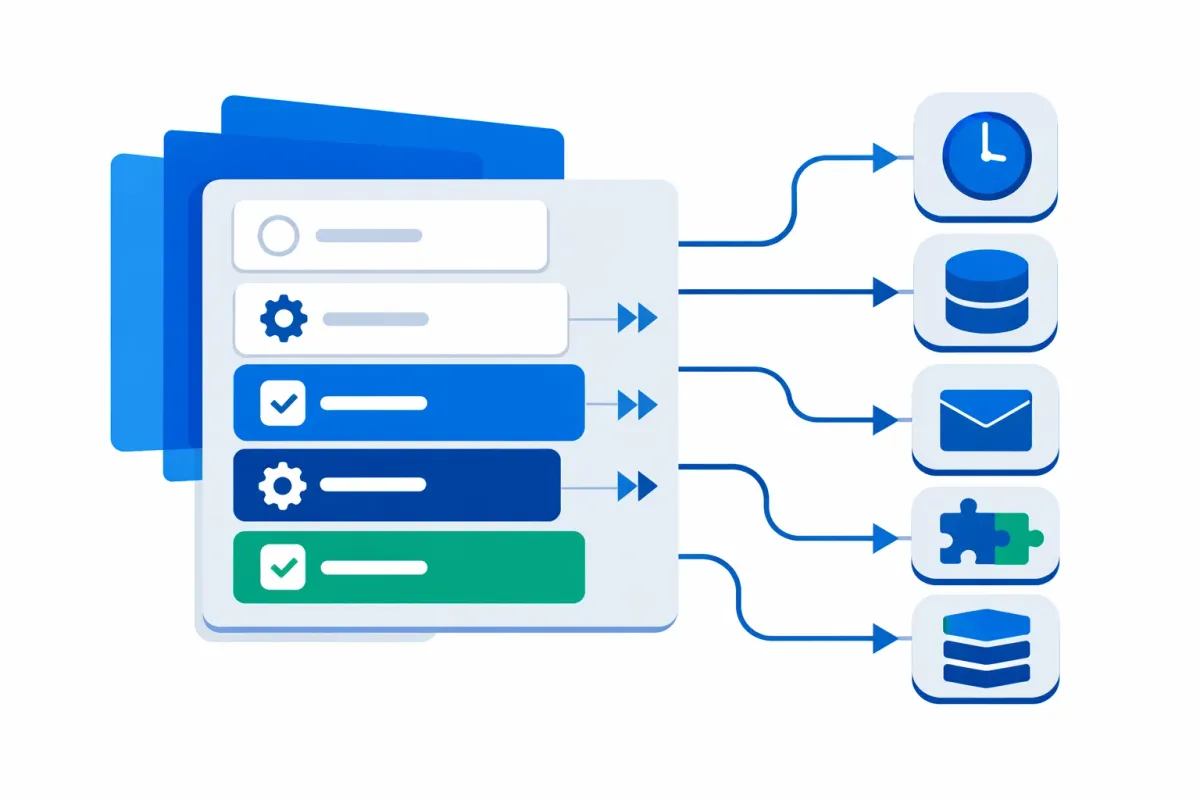
WooCommerce Custom Order Status Workflows: Automating Fulfillment with Native Tools
WooCommerce ships with seven default order statuses—Pending, Processing, On Hold, Completed, Cancelled, Refunded, and Failed. For many stores, these cover basic scenarios. But if you manage custom fulfillment stages like “Awaiting Pickup,” “Quality Check,” or “Packaging,” you’ll quickly hit limitations.
This guide shows you how to build custom order status workflows using native WooCommerce hooks, WordPress functions, and the built-in Action Scheduler—no commercial plugins required. You’ll walk away with working code for registering custom statuses, automating transitions, and scheduling deferred actions.
Prerequisites
Before implementing custom order status automation, verify your environment:
- WooCommerce 8.2+ (includes Action Scheduler and HPOS)
- WordPress child theme or custom plugin for code placement
- Basic PHP knowledge (functions, hooks, conditionals)
- Development environment for testing
Create a staging copy to test status transitions without affecting live orders.
Registering Custom Order Statuses
WooCommerce order statuses are WordPress custom post statuses under the hood. You register them using register_post_status() combined with WooCommerce’s wc_order_statuses filter.
Critical requirement: Status slugs must begin with wc- (e.g., wc-awaiting-pickup) and stay under 20 characters total. This prefix prevents conflicts with other post types.
Here’s a complete implementation that registers a custom “Awaiting Shipping” status:
/**
 * Register custom order status: Awaiting Shipping
 */
add_action( 'init', 'register_awaiting_shipping_status' );

function register_awaiting_shipping_status() {
    register_post_status(
        'wc-awaiting-shipping',
        array(
            'label'                     => 'Awaiting Shipping',
            'public'                    => true,
            'show_in_admin_status_list' => true,
            'label_count'               => _n_noop(
                'Awaiting shipping <span class="count">(%s)</span>',
                'Awaiting shipping <span class="count">(%s)</span>'
            )
        )
    );
}

/**
 * Add custom status to WooCommerce status list
 */
add_filter( 'wc_order_statuses', 'add_awaiting_shipping_to_list' );

function add_awaiting_shipping_to_list( $order_statuses ) {
    $order_statuses['wc-awaiting-shipping'] = 'Awaiting Shipping';
    return $order_statuses;
}
Add this code to your child theme’s functions.php or a custom plugin. After activation, the new status appears in order dropdowns and admin interface. The label_count parameter ensures proper pluralization in status filter counts.
For display customization (colors, icons, email triggers), see WooCommerce’s custom order status documentation.
Automating Status Changes with Hooks
Once you’ve registered custom statuses, automate transitions using WooCommerce’s woocommerce_order_status_changed hook. This fires whenever an order moves from one status to another, passing the order ID, previous status, new status, and full order object.
Generic Status Change Automation
The generic hook captures all status transitions:
/**
 * Trigger automation when any order status changes
 */
add_action( 'woocommerce_order_status_changed', 'handle_order_status_automation', 10, 4 );

function handle_order_status_automation( $order_id, $status_from, $status_to, $order ) {
    // Note: Status parameters exclude 'wc-' prefix
    if ( 'processing' === $status_to && 'pending' === $status_from ) {
        // Trigger warehouse notification
        notify_warehouse_system( $order_id );
    }

    // Log status change for audit trail
    $order->add_order_note(
        sprintf( 'Status changed from %s to %s', $status_from, $status_to ),
        false // Not visible to customer
    );
}
Specific Status Hooks
For targeted automation, use status-specific hooks that fire only for particular transitions. These follow the pattern woocommerce_order_status_{status}:
/**
 * Trigger actions when order reaches "awaiting-shipping" status
 * (Note: Hook name uses status without 'wc-' prefix)
 */
add_action( 'woocommerce_order_status_awaiting-shipping', 'trigger_shipping_prep', 10, 2 );

function trigger_shipping_prep( $order_id, $order ) {
    // Verify user capabilities for bulk operations
    if ( ! current_user_can( 'edit_shop_orders' ) ) {
        return;
    }

    // Conditional automation: Only for orders over $100
    if ( $order->get_total() >= 100 ) {
        // Schedule priority shipping label generation
        as_schedule_single_action(
            time() + 300, // 5 minutes from now
            'generate_priority_shipping_label',
            array( 'order_id' => $order_id ),
            'shipping-automation'
        );
    }
}
This pattern enables conditional workflows based on order properties (total, product categories, shipping method) without complex state management.
Action Scheduler for Async Processing
Action Scheduler is WooCommerce’s built-in job queue library, ideal for deferred or recurring tasks that shouldn’t block order processing. It’s already included in WooCommerce 3.0+, so there’s no external dependency.
Why Async Processing Matters
Synchronous automation can slow order processing when calling external APIs, generating documents, or running database queries. Action Scheduler moves these tasks to a background queue that processes independently.
Scheduling Tasks
Use these core functions to schedule actions:
/**
 * Schedule one-time action (e.g., send follow-up email 24 hours after shipping)
 */
as_schedule_single_action(
    time() + DAY_IN_SECONDS,
    'send_order_followup_email',
    array( 'order_id' => $order_id ),
    'followup-group'
);

/**
 * Schedule recurring action (e.g., sync pending orders every hour)
 */
as_schedule_recurring_action(
    time(),
    HOUR_IN_SECONDS,
    'sync_pending_orders_to_erp',
    array(),
    'erp-sync-group'
);
Hook your custom automation to the scheduled action name:
add_action( 'send_order_followup_email', 'process_followup_email' );

function process_followup_email( $order_id ) {
    $order = wc_get_order( $order_id );

    if ( ! $order || 'completed' !== $order->get_status() ) {
        return; // Skip if order no longer exists or status changed
    }

    // Send email logic here
}
Monitor scheduled actions in WooCommerce > Status > Scheduled Actions to debug automation and verify execution.
HPOS Compatibility and Best Practices
High-Performance Order Storage (HPOS) is default for new WooCommerce stores since version 8.2. Existing stores can migrate via WooCommerce > Settings > Advanced > Features.
Key HPOS Considerations
HPOS moves order data from wp_posts to dedicated custom tables. Your custom status code remains compatible because:
register_post_status()still works (WooCommerce handles compatibility)- Status change hooks fire identically for both storage systems
wc_get_orders()queries work for both legacy and HPOS stores
For metadata: Use $order->get_meta( 'custom_key' ) instead of get_post_meta(). WooCommerce order object methods are storage-agnostic.
HPOS-compatible status query example:
$orders = wc_get_orders( array(
    'status' => 'awaiting-shipping',
    'limit'  => 50,
) );
See WooCommerce’s HPOS guide for migration details and advanced order management patterns.
Security Best Practices
Protect your automation code with these safeguards:
- Capability checks: Verify
current_user_can( 'edit_shop_orders' )before bulk operations - Input sanitization: Use
absint()for order IDs,sanitize_text_field()for user inputs - Nonce verification: Required for any admin-triggered status changes via forms
- Backup before deployment: Test status transitions on staging; create database backup before production release
For bulk status updates, use Action Scheduler to process batches of 25-50 orders per minute, preventing timeouts and memory exhaustion.
When to Use Code vs. Plugins
Native code gives you complete control, no recurring fees, and exact customization. Choose this approach if you:
- Need custom workflows not supported by plugins
- Manage high-volume stores where plugin overhead impacts performance
- Want to avoid vendor lock-in
- Have development resources for maintenance
If your workflow matches standard patterns, evaluate whether WooCommerce’s built-in statuses or a lightweight plugin meets your needs first. Many stores find success with hybrid approaches: custom statuses for unique state management combined with established plugins for specialized integrations.
For complex integrations involving ERP systems, shipping APIs, or inventory management, consider layering your custom status automation with external tools. The native approach provides the foundation, while specialized plugins handle domain-specific logic. This separation of concerns improves maintainability and reduces technical debt over time.
Next Steps
You now have the building blocks for native WooCommerce order status automation: custom status registration, hook-based triggers, and Action Scheduler for async processing. Start with one or two custom statuses that solve your most pressing fulfillment bottleneck.
Test transitions thoroughly in staging, monitor Action Scheduler logs, and document your automation logic for maintainers.
For advanced workflows with multiple transitions, conditional routing, or API integrations, build on these foundations incrementally—always prioritizing reliability over complexity.